Flash a Luos module
To update the firmware of a Luos module, you need to re-flash it. Basically, this means re-writing its internal software.
It's a rather simple process but there is a few things to know.
The different modules, their firmware and their location
First, you can find the modules location in the torso on the figure below:
TODO: schema avec l'emplacement des modules
Here is the different module present in each part and their associated firmware:
- Left Arm
- USB Gate (GateArm.bin)
- Dynamixel V1 module (DxlV1Fan.bin)
- Force sensor (ForceGripper.bin)
- Right Arm
- USB Gate (GateArm.bin)
- Dynamixel module (DxlV1Fan.bin)
- Force sensor (ForceGripper.bin)
- Head
- USB Gate (GateHead.bin)
- Orbita neck (Orbita.bin)
- Dynamixel V2 module (DxlV2.bin)
The up-to-date version of those firmwares can be found on GitHub: https://github.com/pollen-robotics/reachy/tree/master/luos-modules.
There are also available directly on the Raspberry-Pi of the robot in ~/dev/reachy/luos-modules. Make sure to update the git repository to get the latest version!
How to flash a module
Once you've located the module you want to update and download its firmware, you are ready to flash it.
What's needed
To flash a module, you will need a computer with dfu-util installed and a micro USB cable. The Raspberry-Pi of the robot can be used. The image we provide comes with dfu-util already installed.
For all modules, except for Orbita neck, the same procedure can be followed. So, first, we will explain how to flash generic modules, called L0 in Luos terminology, (meaning Gates, Dynamixel modules and Force sensor) and then we will explain how this can be done for Orbita.
Flashing L0
- First, make sure your robot is turned off.
- Then, unplug all wires connected to the module (Luos cable and USB cable if any). Make sure to remember where each wire goes, you will have to plug them back after!
- Connect your micro USB cable to the slot on the modules (below the two Luos cable slots) and connect it to the computer you use to flash the module.
- Then, run the luos-flash script, you only need to specify the path to the firmware binary you want to copy into the module.
On the Raspberry-Pi of the robot, this can be done with something like this (to flash a Force sensor):
cd ~/dev/reachy/luos-modules
bash luos-flash.sh ./ForceSensor.bin
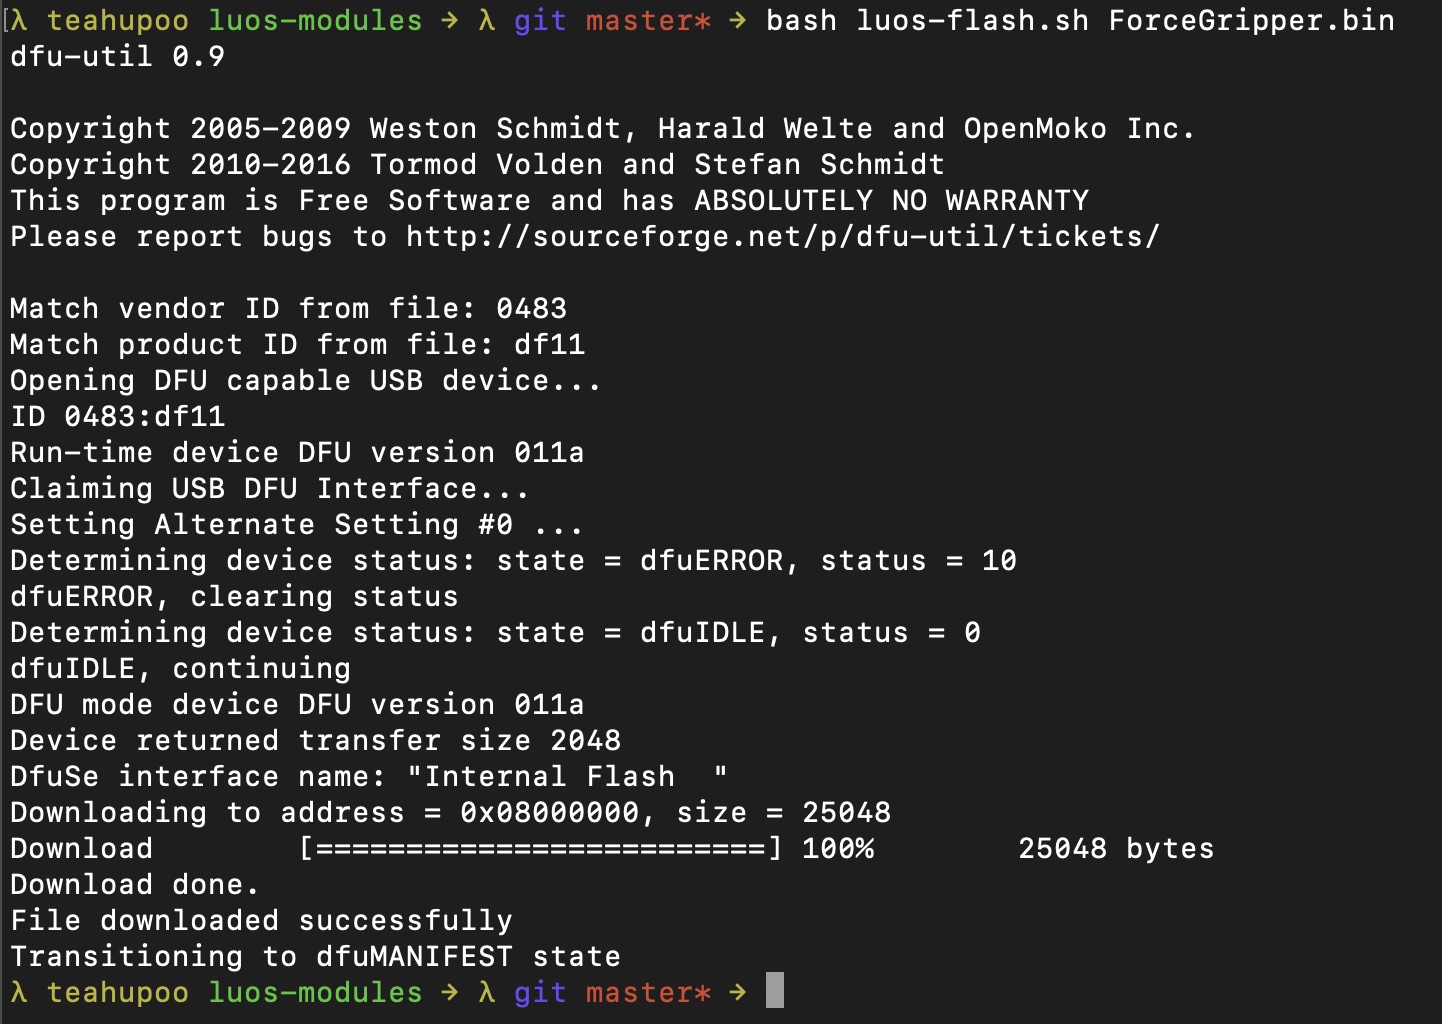
If everything goes well, you should see something similar to the image below:
- Finally, plug all wires back.
Flashing Orbita
For Orbita, the process is slightly different.
- First, make sure your robot is turned off.
- Connect your micro USB cable to the slot on the top of the modules (TODO:image) and to the computer used to flash. The usb slot is a bit tricky to access, we reommend using a L shape cable.
- Then, turn on the power on your robot.
This is the tricky part, you have to first connect the USB, then the power! Otherwise the module will refuse to be flashed.
- Run the luos-flash script, just like for the l0.
cd ~/dev/reachy/luos-modules
bash luos-flash.sh ./Orbita.bin
- Finally, unplug the USB cable and turn off the power.