Create your own virtual scene for Reachy
We've created a simulated version of our Reachy robot where we simulate its behaviour and motors physics. It comes as a Unity package with everything already setup.
This lets you create your own 3D Scene within Unity so you can build your own virtual experimental setup. You can add 3D objects with their physics (a table, objects that can be grasped and moved, etc). You can setup lighting conditions and retrieve what the robot will perceive from its camera. You can also detect collisions, so you can grasp objects, or train the robot to perform some specific moves. You can even add humans avatar to prototype Human-Robot Interactions.
What you need
Unity, editor version 2020.1.0b7 or higher. (Get it here) We rely on the new Articulation Body component made for robotics. So it will not work on previous version.
To leverage more physical accuracy in your robotics simulation make sure to setup a few parameters in your Project Settings:
- lower the Fixed Timestep, to 0.01s for instance (in the Time Tab)
- switch the Solver Type to Temporal Gauss Seidel (in the Physics Tab)
Import reachy package
You can get the package asset of the reachy simulation on our GitHub deposit: https://github.com/pollen-robotics/reachy-unity-package.
The Unity package can be found directly in the release: https://github.com/pollen-robotics/reachy-unity-package/releases/latest.
To use it, simply open your project and go to ‘Assets’ –> Import package –> custom package and select our package.
What's inside?
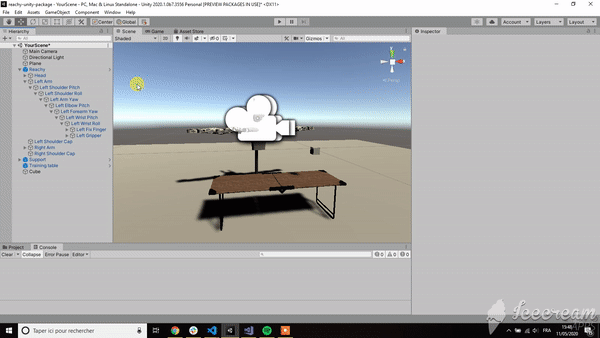
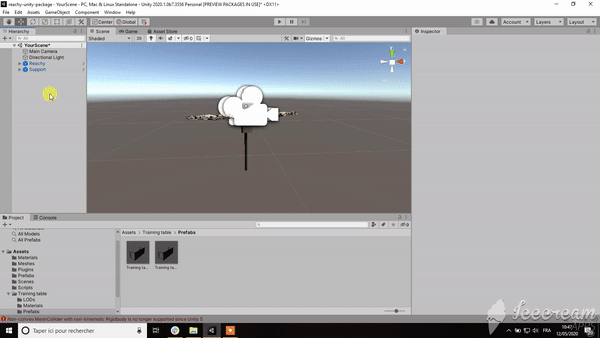
Our package is mainly composed of 2 prefabs composed of the meshes and materials for Reachy, plus a few scripts to control it.
The Reachy prefab is our robot and the support prefab is simply the support that keeps the robot upright. In the scripts folder, the ReachyController contains the function you will use to control Reachy. A JointController script is associated to each part of Reachy. This script lets you drive the motor as you would with the real robot. Gripper also have a force sensor script that retrieves the current force applied on the gripper.
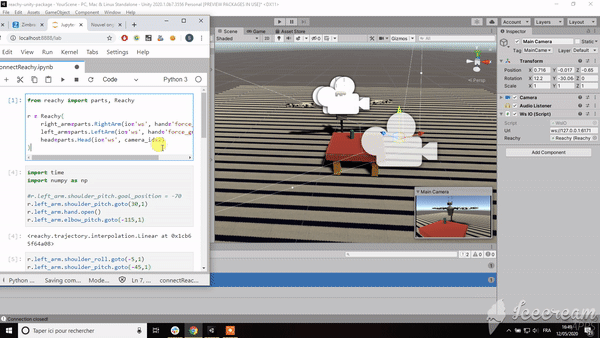
We also provide IO (only a WebSocket for the moment, but other can be easily implemented) scripts which allow you to communicate with the external world. This can be used to control the virtual robot using the same Python's API that we use for the real robot (see section Simulation). This IO let you send command (i-e move Reachy) from an other application or get the current reachy state (i-e reachy's camera image, motors position, gripper force).
Play with reachy
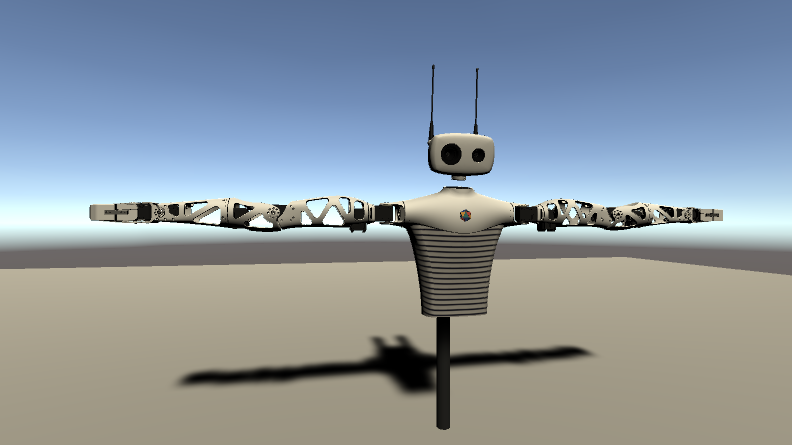
Reachy is composed of static parts, such as the torso, the left and the right shoulder cap, and of mobile parts such as the head (only the antennas can move for the moment) and the arms.
You can directly make those parts move by setting the variables targetPosition in the motors property of the ReachyController component attached to the Reachy Prefab. Each part of an arm is linked to a parent so moving one part will make the children move with it.
As, we use the Unity Physics engine, make sure you are in Play Mode before trying to move the robot.
Reachy commands
The ReachyCommand script provides high level function to make reachy move and get his current state:
- HandleCommand(SerializableCommands command): Giving a list of motors names and their target position, it will update the robot movements.
- GetCurrentState(): Get the current state of reachy (composed of the cameras view, and the current position of every motors).
Those functions are for instance called by the IO when you are remotely controlling the robot.
Handle collisions

Each motor use the Articulation Body and colider components, they allow Reachy to interact with other physical objects. According to the Unity Docmentation, “a Rigidbody object will be pulled downward by gravity and will react to collisions with incoming objects if the right Collider component is also present”. If you want to add other objects to your Scene and have Reachy interact with them, you need to make sure to attach those two components to them. For instance, you can make reachy flip a table by adding a rigidiBody and a collider to a table GameObject and ask reachy to quickly move his arm bottom-up (when close enough to the table).
Articulation Body
Each motor has the component Articulation Body which represents the characteristics of how a specific part of the arm is supposed to move. All motors in Reachy are revolute joints, and they are controlled using the Articulation Drive mechanism.
We've preset a few parameters to try to match closely the real behavior of Reachy's motor
- The Lower limit and Upper limit define the same minimum and maximum angle of rotation as the real robot.
- The stiffness and damping are PD gains of a PID controller.
- The force limit is the maximum force the joint can apply.
Those parameters were defined by recording moves on the real robot, measure the real trajectory, the backlash and try to reproduce them on the simulation. Yet, depending on your experimental conditions you may need to tune them to get better results.