Discover the dashboard
1. Find Reachy 2’s IP Address
After you connect the robot to the network, it should have an IP address. The LCD screen connected to Reachy’s back should display its IP address.
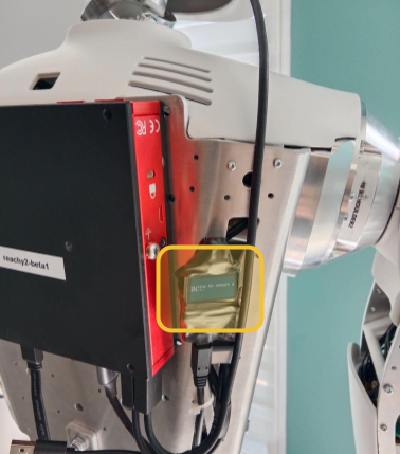
If the LCD screen is not working or is unplugged, check the “Find My IP” section to learn other ways to get the IP address.
Note: The LCD screen will not work if you plug it in after turning on the computer.
2. Connect from the Navigator
From your computer, on the same network, open a browser and go to:http://<IP.address>:8000/
For example, if the screen indicates
192.168.1.42, connect tohttp://192.168.1.42:8000/
You should arrive at a services page:
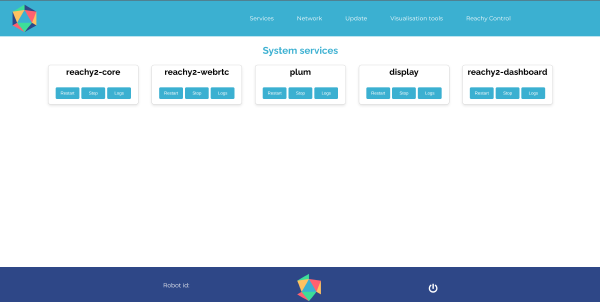
This tool is designed to help you start easier with the robot and facilitate quick debugging.
The dashboard provides an overview of the robot’s state and allows quick access to features (e.g., changing a robot’s part compliance).
Features Overview
What does the dashboard provide?
Access the services - Services pageStop or restart the robot’s services, see robot logs (coming soon).
Manage network connection - Network pageChoose a WiFi network to connect the robot to.
Update robot software - Updates pageGet the latest software versions of the robot, and choose the services you want to update.
Visualize robot state - Visualization tools pageGet RViz visualization or display live data from ROS topics with Foxglove.
Send robot commands - Reachy control pageComing soon
On each page, the serial number of your robot is also displayed.
More information is available for each page in the content section.